Most “natural scented candles DIY” tutorials online produce waxy, weak-smelling novelties that fizzle out by week two. You follow the steps—soy wax, essential oils, cotton wicks—and end up with something that barely lasts an hour or smells like a faint memory of lavender. The real problem? You’re copying craft bloggers, not candle chemists. Here’s how to build candles with backbone—aromatic depth, clean burn, and market-ready appeal—using kitchen-grade tools and ruthless attention to ratios.
Why Your DIY Candles Fail (Even When You Follow Every Step)
It’s not your fault. Most guides ignore the science behind scent throw—the ability of a candle to fill a room with fragrance both when lit (hot throw) and unlit (cold throw). Essential oils evaporate at different temperatures. Pour wax too hot, and you kill top notes. Too cool, and the oil separates. Worse: many DIYers overuse carrier oils or beeswax blends without understanding how they dilute volatility. And cotton wicks? Often too thin for dense natural waxes, causing tunneling. The result: a $30 “luxury” candle that performs like a birthday taper.
How to Make Natural Scented Candles DIY That Work
Forget Pinterest-perfect aesthetics. Focus on performance. This method balances volatility, viscosity, and vaporization point—so your candle actually works as intended.
Gather the Right Materials (No Craft Store Gimmicks)
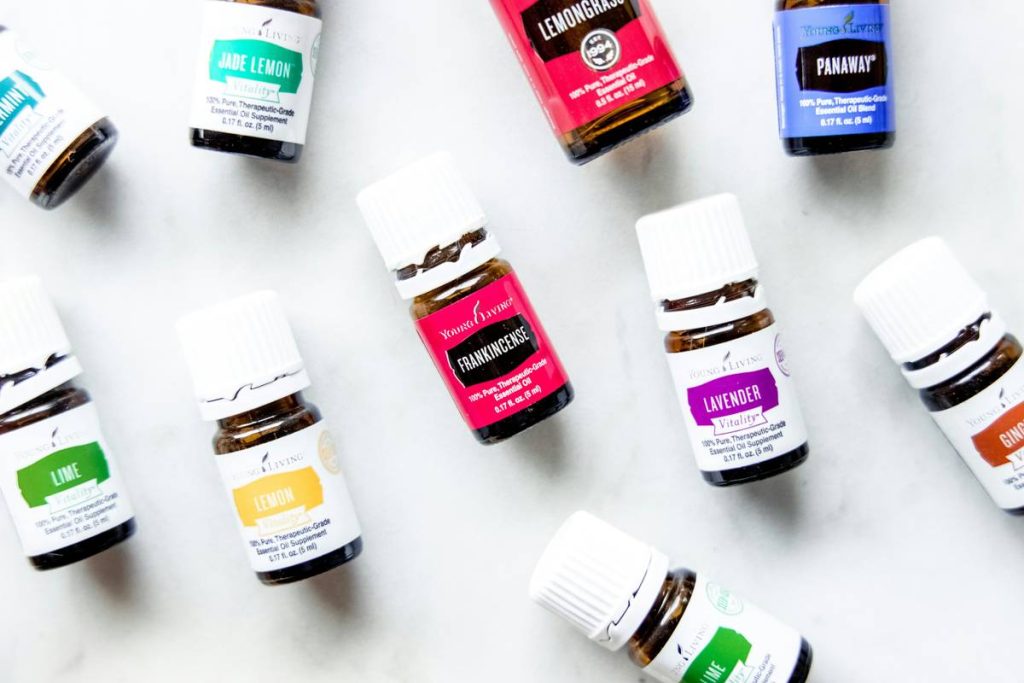
Use 100% soy wax flakes—not blends. Avoid paraffin entirely; it negates “natural” claims. Choose pure therapeutic-grade essential oils (not fragrance oils) from reputable distillers. For wicks, opt for flat-braided cotton sized for your container diameter—typically LX or CD series. Glass jars > tin cans for even heat distribution.
Master the Melt-Pour-Temp Trifecta
Melt wax to 185°F (85°C)—no higher. Remove from heat. Cool to 135–145°F (57–63°C), then stir in essential oils at 6–8% concentration by weight. Why this range? Below 135°F, oils won’t bind well; above 145°F, citrus and floral notes degrade. Stir slowly for 2 minutes—no whipping—to prevent air bubbles.
Cure Like a Pro (Not a Hobbyist)
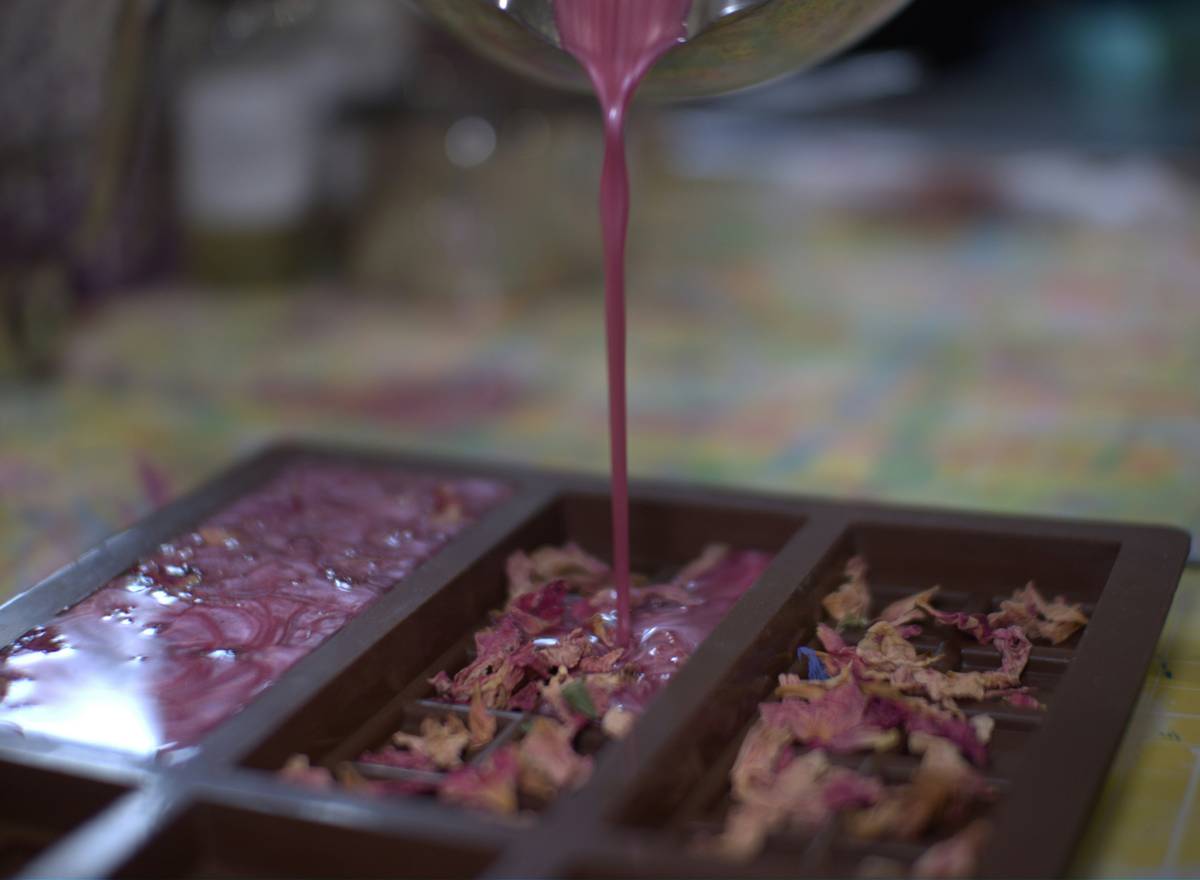
Let candles set at room temperature for 48 hours—no fridge shortcuts. Then cure for 7–10 days in a dark, dry place. Yes, ten days. Most skip this; that’s why their cold throw vanishes after lighting once. Curing allows oil molecules to fully integrate into the wax matrix.
| Method | Wax Temp at Pour | Oil % by Weight | Cure Time | Hot Throw Rating (1-5) |
|---|---|---|---|---|
| Standard DIY Blog Approach | 160°F | 4% | 24 hours | 2 |
| Pro-Aromatherapy Method | 140°F | 7% | 7 days | 4.5 |
| Overloaded (Common Mistake) | 150°F | 10% | 48 hours | 1.5 (causes sooting) |
The Industry Secret: Scent Layering Isn’t Just for Perfumers
Here’s what big brands won’t tell you: single-note essential oil candles rarely sell. Why? They lack complexity. Real market winners use **triad blending**—combining top, middle, and base notes—just like perfumery. Example: Lemon (top) + Lavender (middle) + Cedarwood (base). The lemon grabs attention immediately, lavender sustains the experience, and cedarwood lingers after the flame dies. Most DIYers dump in one oil and wonder why it feels “flat.” The math is simple: 30% top, 50% middle, 20% base by oil volume. Test small batches first—some oils accelerate trace or discolor wax.
Frequently Asked Questions
Can I use fragrance oils instead of essential oils for natural scented candles DIY?
Only if you drop the “natural” label. Fragrance oils contain synthetic compounds. For true natural candles, stick to steam-distilled or cold-pressed essential oils.
Why do my candles sink in the middle after cooling?
Pouring too hot or cooling too fast causes uneven contraction. Maintain ambient room temp (70–75°F) and avoid drafts during setting.
How long do natural scented candles DIY last unburned?
Up to 12 months if stored in airtight containers away from light. Essential oils oxidize over time—citrus degrades fastest.